
Blackout Comms Communicator Firmware

|
Where are you located? |
If you are in the USA, choose the USA version. Otherwise, choose the Non-USA version. Use the same selection for all of your devices! | Link: 3.5.5 (6/15/2026) Comm: 3.5.6 (6/20/2026) |
Note: The Blackout Comms secure off-grid messaging and location firmware is a licensed product. Certain features may require purchase of a license.
|
By downloading this firmware, you are agreeing to the terms, agreeing to abide by all laws and regulations while using this firmware, and agreeing to hold harmless the developer, Altware Development LLC. Altware Development LLC is not responsible for any data loss or other issues that might arise with with your device before, during, or after flashing. Unless you agree to those terms, don't use this tool or download our firmware. |
|||||||
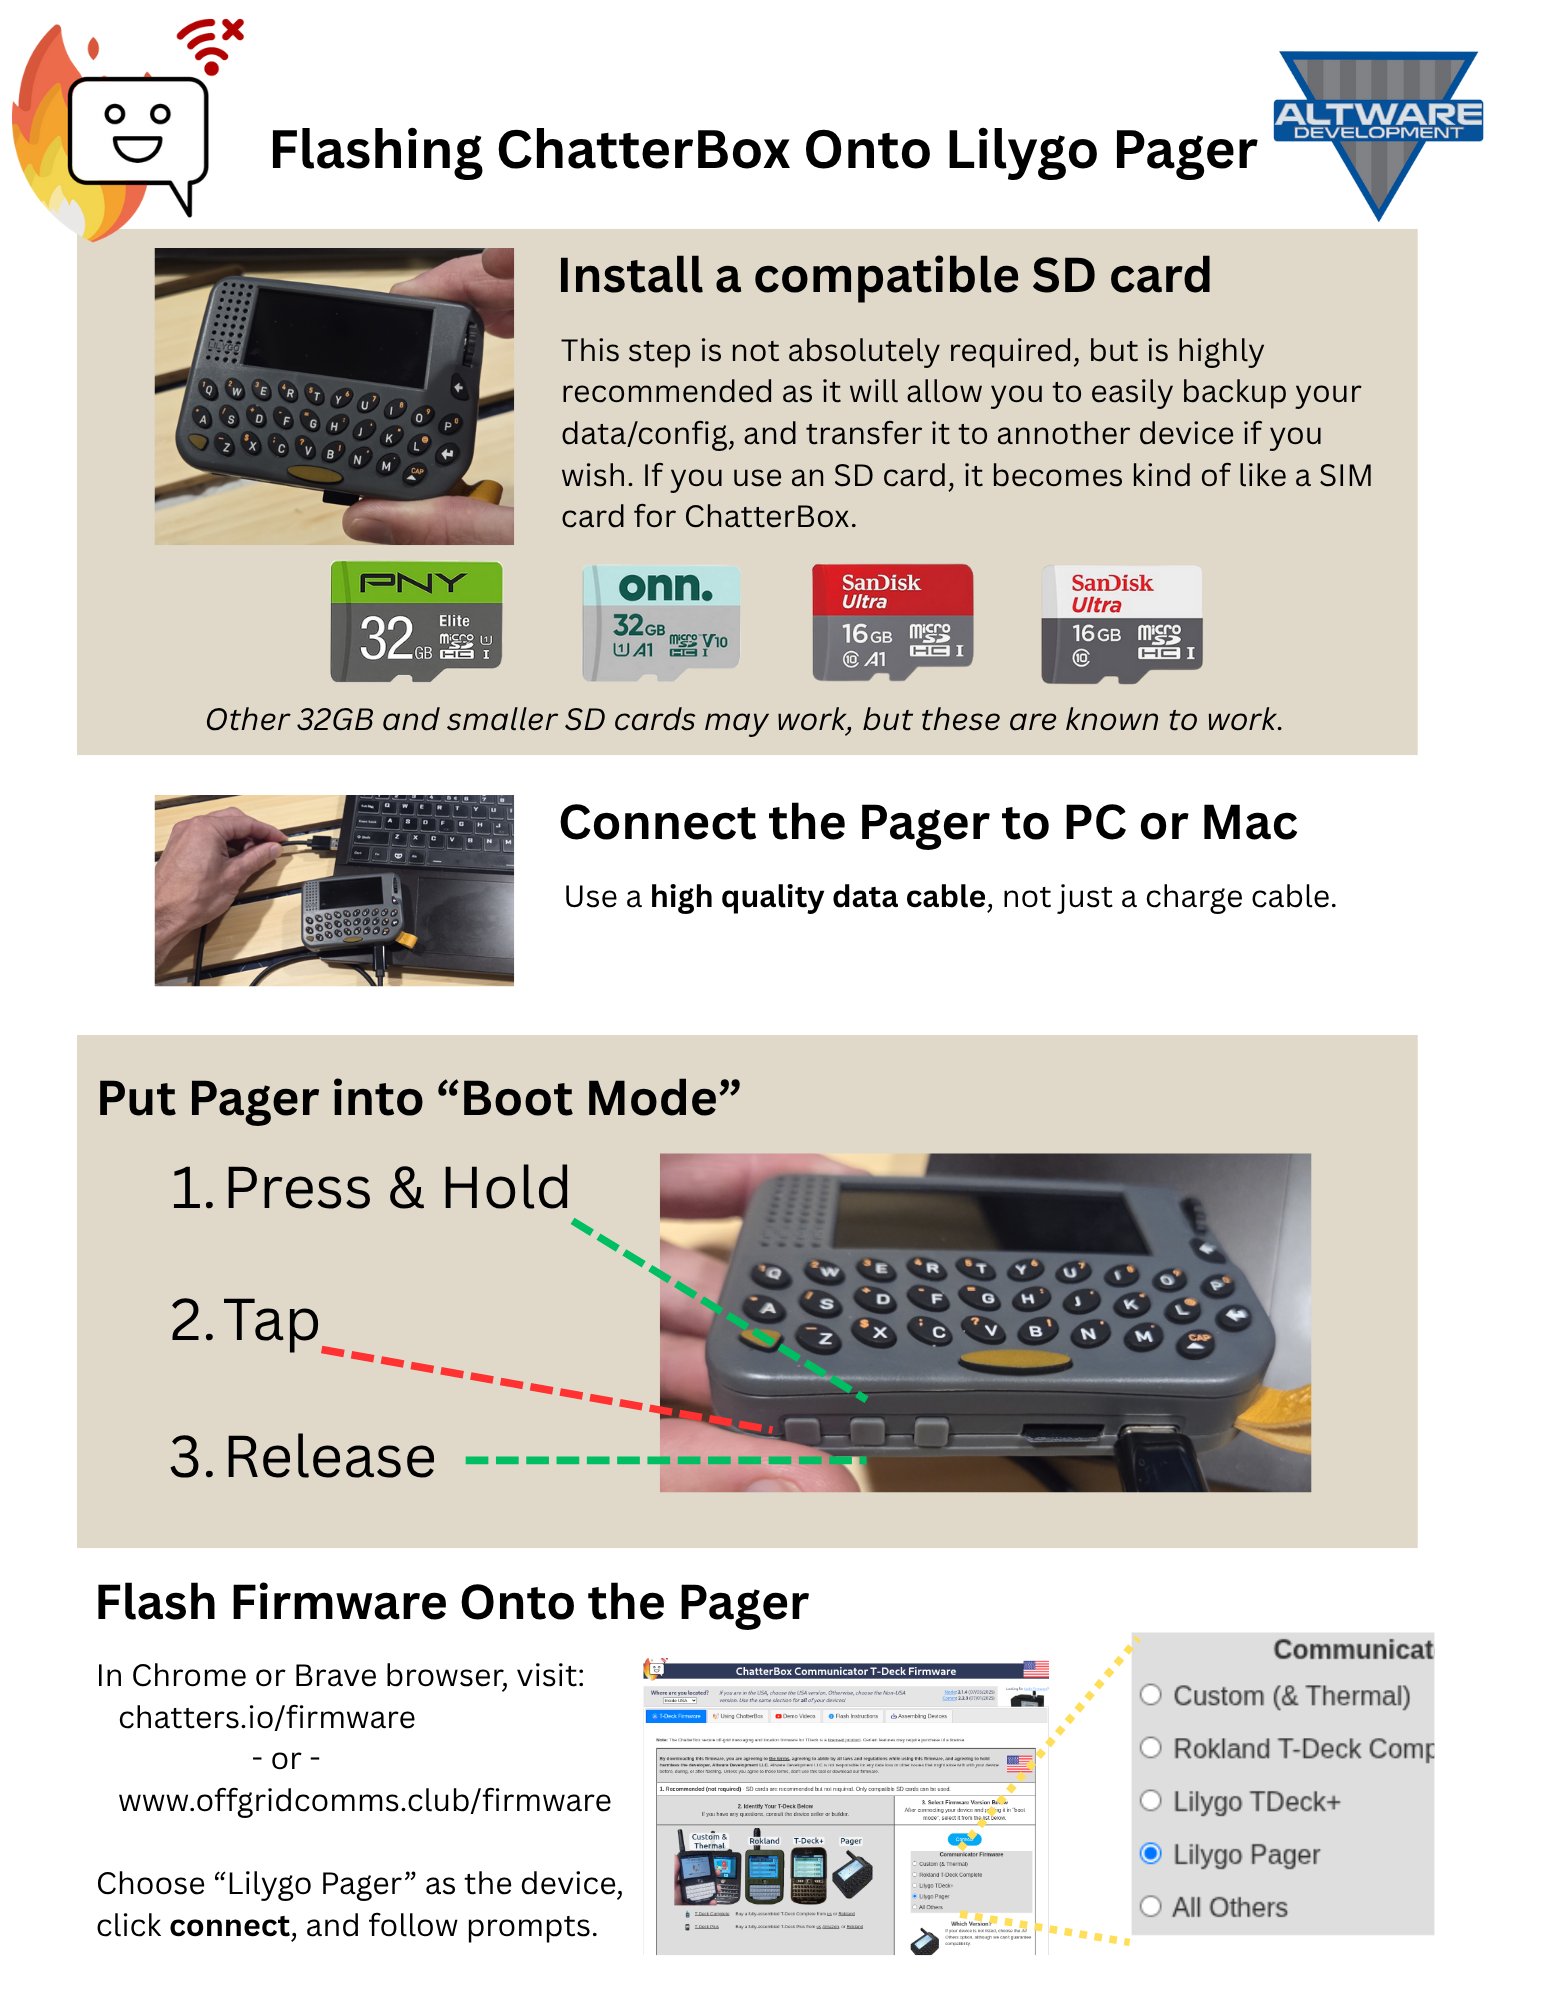
| 1. Recommended - SD cards are highly recommended but not required. Only compatible SD cards can be used. | |||||||
|
If you have any questions, consult the device seller or builder. |
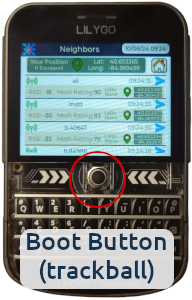
After connecting your device and putting it in "boot mode", select it from the list below. |
||||||
|
If your device is not listed, choose the All Others option, although we can't guarantee compatibility.
|
||||||
|
|||||||
|
Alternative Flash Instructions: If you know what you are doing and want to install mesh tdeck firmware
using a different install tool, you may download the pre-built binaries here (USA):
T-Deck+ Mesh Firmware Custom Mesh Firmware M100 / All Others Altware Full Touch Pager Heltec v4 Exp Kit DFR Mesh Firmware (Deprecated)
Alternative Flash Instructions: If you know what you are doing and want to install mesh tdeck firmware
using a different install tool, you may download the pre-built binaries here (Non-USA):
T-Deck+ Mesh Firmware Custom Mesh Firmware M100 / All Others Blackout Comm Pager Heltec v4 Exp Kit DFR Mesh Firmware (Deprecated) |
|||||||

|
|
||||||||||||||||||||||||||||||||||||
|
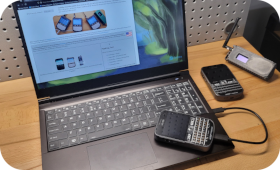
View a video demonstration of flashing a T-Deck Plus
|
||||||||||||||||||||||||||||||||||||||


| Communicators | ||
| T-Deck Thermal | Build your own Blackout Comms communicator (with Thermal Cam) | |
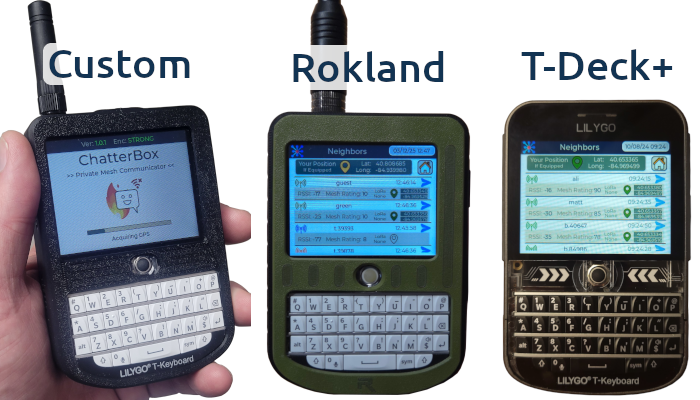
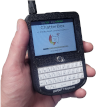
| T-Deck Custom | Build your own Blackout Comms communicator | |
| T-Deck Complete | Buy a fully-assembled T-Deck Complete from us or Rokland | |
| T-Deck Plus | Buy a fully-assembled T-Deck Plus from us Amazon, or Rokland | |
| T-Deck Amped | Build a Blackout Comms communicator with integrated Amp | |
| Nodes | ||
| Thermal | Coming soon: Link with integrated thermal cam, capable of sending images via mesh | |
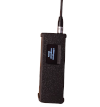
| Basic / GPS | Build (or buy) a simple mesh link with no soldering or built on Lilygo T3S3 or E-Paper T3S3 | |
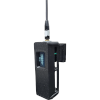
| Proximity Link | Build (or buy) a mesh link with Proximity sensing capabilities, using a doppler-based sensor | |
| Remote Switch | Build (or buy) a link with the ability to remotely control a switch (proximity sensing nodes can also do this) | |
| More Build DIY Options | ||||||||||||||||||||||||||
|
Custom Communicator
|
GPS Link
|
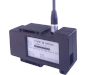
E-Paper Mini Link
|
||||||||||||||||||||||||
|
Proximity/Relay GPS Link
|
GPS Relay Link
|
Solar Link
|
||||||||||||||||||||||||
|
Proximity/Relay Paper Link
|
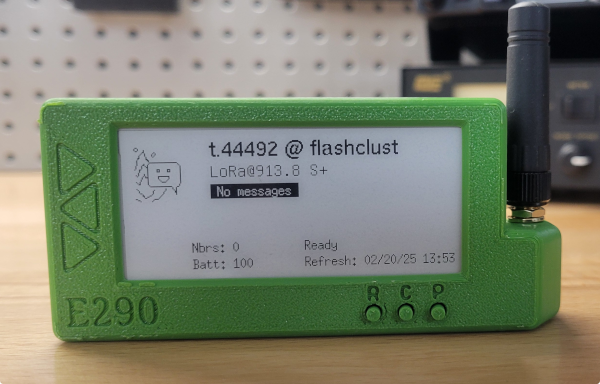
Heltec Vision e290 Paper Link
|
Mini Link
|
||||||||||||||||||||||||